
Photoshop Tip: Shallow Depth of Field
Creating a shallow depth of field in your photos can be a great way to add drama or enhance the focal point of your photo.
There are a number of ways to create a shallow depth of field. One of the easiest and quickest ways is using Photoshop’s Iris Blur filter.
I love using this filter for:
- Food shots – to simulate a macro lense effect and focus on a detail
- Landscapes – to draw attention to a subject that is standing in a landscape
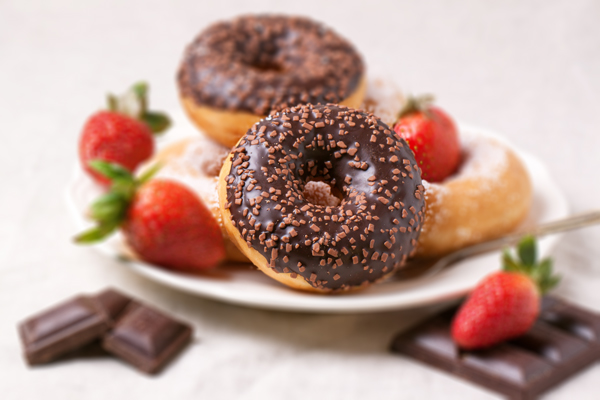
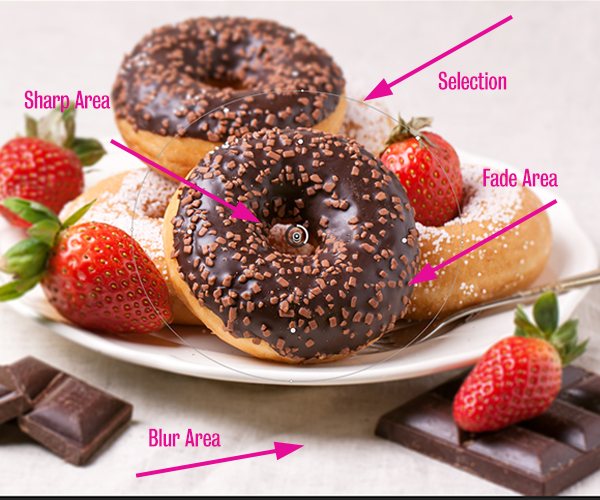
Let’s look at the eight simple steps to mastering this filter using the image below.

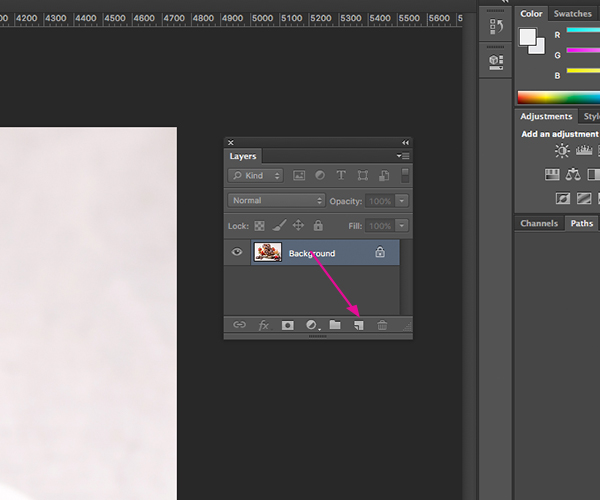
Step 1
Open the file you wish to use and select the Background layer. Drag the layer to the New Layer button to create a duplicate layer.
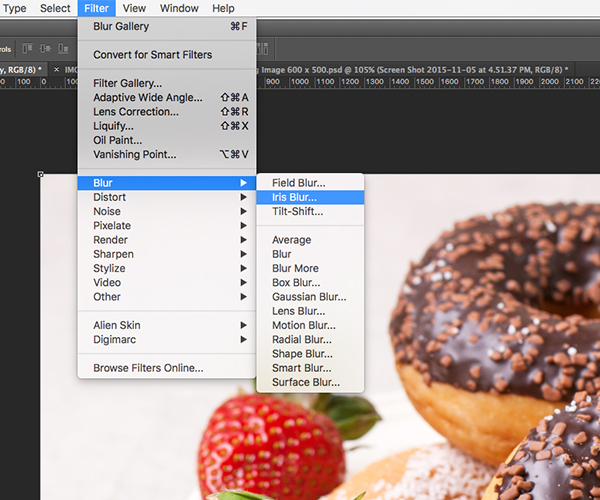
Step 2
With the duplicate layer selected, select Filter > Blur > Iris Blur. This will open the Iris Blur tool and apply the default settings to your layer.
Step 3
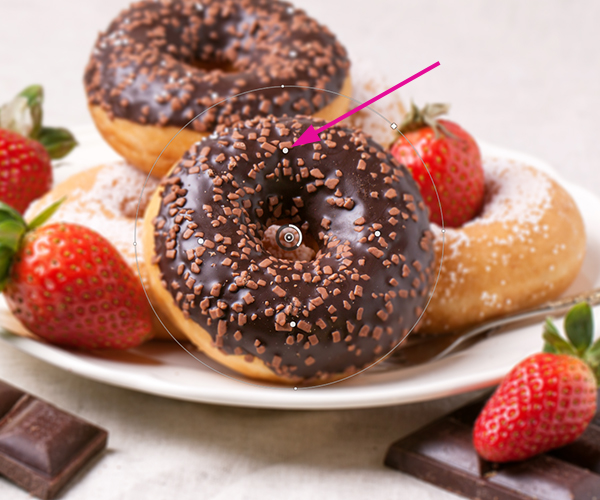
Adjust the position of the Blur by moving the circle in the centre. Position this circle over the area you wish to stay sharp. I want more emphasis placed on the foreground doughnut (mmm doughnut) so I have positioned it over this area.
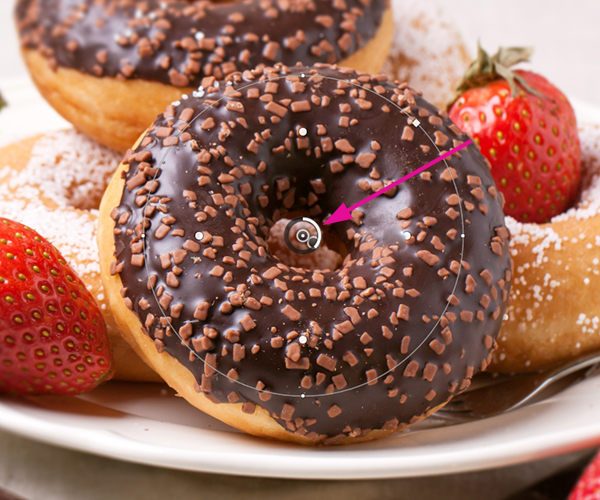
Step 4
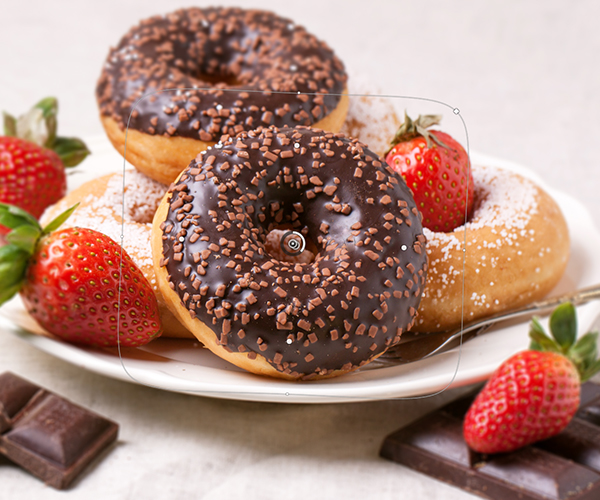
Change the size of the blur by clicking and dragging the outer edge of the selection. If you want to rotate the blur, click outside of the selection and drag diagonally. I’m going to create an intense effect so I will drag the selection inwards to make it smaller (which increases the outside/blurred area). For a more subtle effect drag the selection towards the outside edges of your photo.
Step 5
You can even change the circle to make it more rectangular in shape. Simply move the little white square in the upper-right to make the selection more rectangular.
Step 6
Adjust how gradual the blur fades from sharp to blurred by using the handles that look like little white circles. The area between these handles and the selection is called the “Fade Area.” The smaller you make this area, the more dramatic the transition will appear.
Step 7
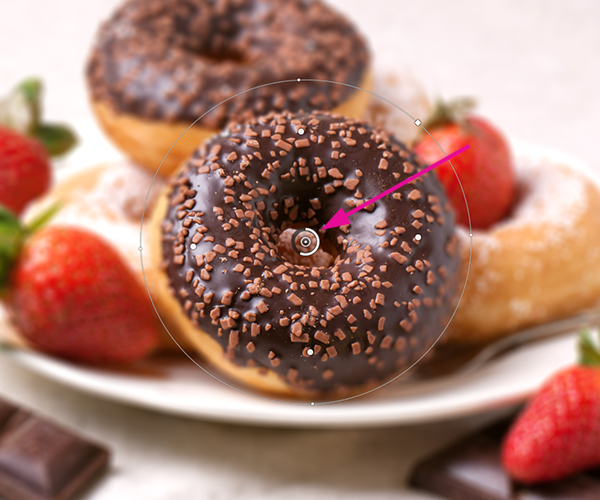
Click inside the thin circle in the centre and dragging clock-wise to create a more intense blur. You can also use the Blur slider in your Blur panel. For most photos, a subtle blur of 15 px or less will look more authentic but I’m going to create a more intense effect and use 34px.
Step 8
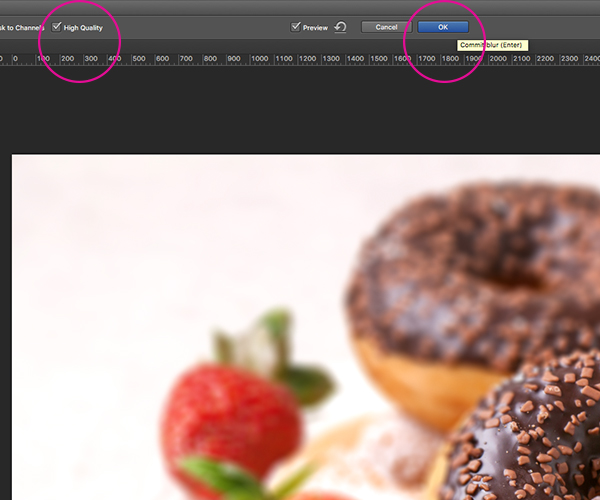
Click the box at the top next to “High Quality” so that Photoshop will render a full-quality blur. Click OK to commit to the filter once you are happy.
Tip
If you have taken a photo at night you may wish to brighten the Blur area. Use the Blur Effects box and adjust the “Light Bokeh” slider. You can adjust the “Bokeh Color” slider to increase the brightness of the colours. Adjust the Light Range sliders to select the range of tones Blur Effects settings will affect.
Comments